Made With Love Valentine's Day Cards
- Shan
- Jan 28, 2017
- 3 min read
Hey there!
I love making cards just as much as I love giving cards. That's why I always make a day of it when I sit down and do my seasonal cards. That's what I did this past Sunday. I created all of the Valentine's cards that I could think of...and I loved it!
I said that I was going to use up a good bit of my Valentine's Haul supplies for cards and crafts so I didn't have any problem digging into my stash and going to town.
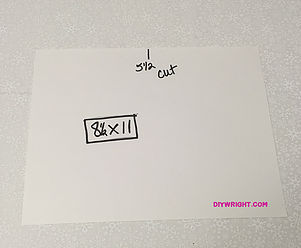
I started with your standard card size in the world of card making – 4 1/4” X 5 ½”. These are the cards that fit very nicely into the standard A2 envelope (4 ¾” X 5 ¾”). The nice thing about this size card is that it is half of an 8 ½” X 11” piece of paper, scored in half. I’ve mentioned before that I use Neenah white cardstock from the office supply store for my base. For me, it’s sturdier and a more “grown up” paper for card making.
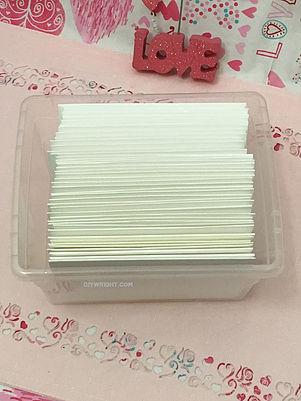
As a helpful hint, I go ahead and make tons of card bases at a time. I might spend 30 minutes just cutting down and scoring paper and end up with premade card bases that I can just grab and get a card made quickly. You can see from my card box that I didn't always go with Neenah white. The random papers are at the bottom and the pretty, white Neenah white cardstock is at the top.
For my Valentine's Day cards, I used my Michael’s Valentine Hot Buy Paper Pad and several of the heart stickers and cutouts along with my stamps and hot pink stamp pad. I wanted to make very easy, quick cards. I know that folks don't always have all day to devote to making cards so I wanted to show that you can make something pretty quickly with the right tools.
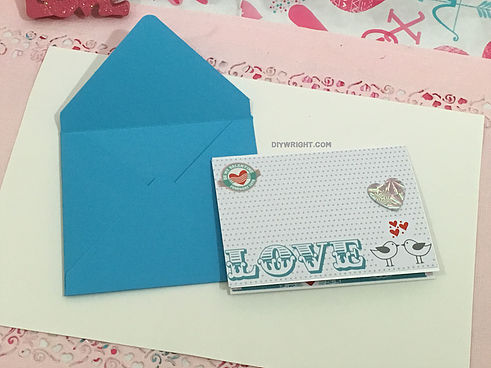
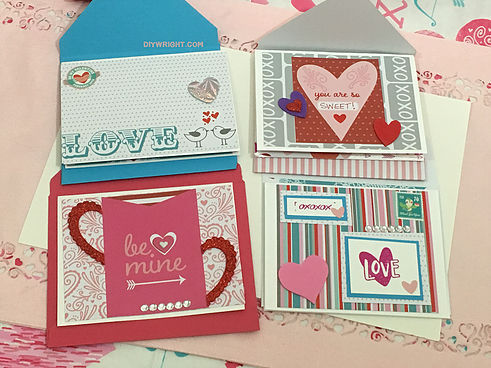
The simplest of my cards is a page from the paper pad with a blue "love" sentiment with two kissing doves. I added a Valentine sticker in the top left hand corner and a silver foam heart over the doves. I also decided to take an 8 ¾" X 8 ¾" piece of blue cardstock and my Martha Stewart envelope punch board and make a custom envelope for the card.
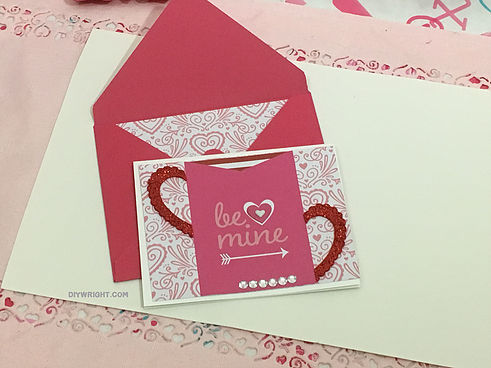
Just as easy was my "be mine" card. Again, just a piece of paper (5 1/4" X 4") as a matte and a cutout (3" X 4") as a sentiment. I took a red, glittery foam heart outline, cut it in half and put it on either side of the sentiment card. I also added glossy foam hearts on top of the white heart. The original heart was white so I added a red one on top of it and a tiny white one on top of that. And then I just added 6 bling gems at the bottom of the card. And yes, I made another envelope and this time added the same paper that I used for my matte.
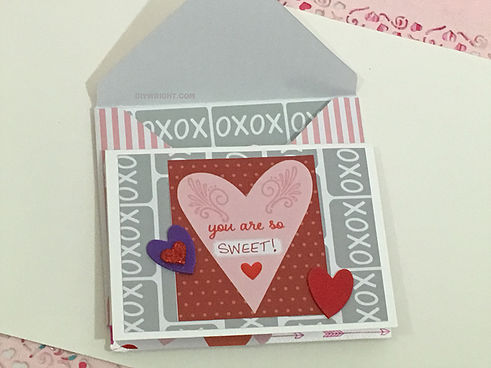
My "XOXO" card is one of my favorites so far. It's just paper from a 6" X 6" paper pad that I had from Stamps of Life and a 3" X 4" cutout as a sentiment. Purple and red hearts were needed so I added them.
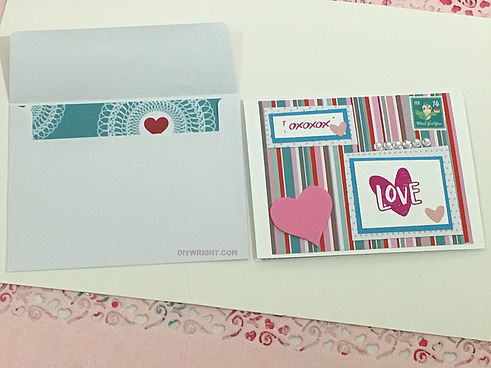
My busiest card had stickers and bling and foam hearts. I chose a very busy background matte so when I stamped my sentiments on white paper, I decided to matte them with different types of paper, ending with a mostly white paper that would stand up against the busy matte page. Don't worry. You can do this anyway you'd like. Your receiver will love this card no matter what you do! For this card, I used a store bought envelope and just added a matte to the envelope. You don't have to make your own envelope itself, to make it your own creation.
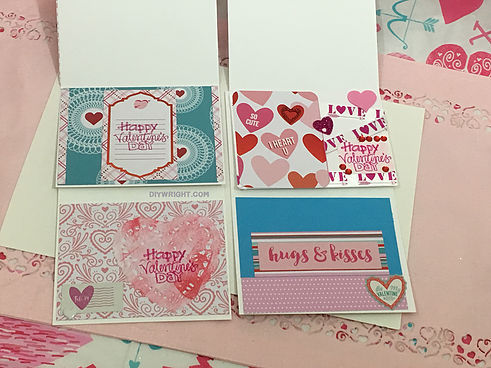
I popped out several more cards but these were my stand outs. If you are interested in more cards, come back next Saturday and see what I did with a kit.
Nope, no more hints! You'll have to come back and see what that means!


Comments