Wine Bottle Tags
- Shan
- Dec 27, 2016
- 3 min read

Hey there!
New Years Eve is right around the corner! This year the kiddo and I are just staying home and enjoying the telly, but it's still going to be a good time. I have some things planned so stay tuned!
Last year I went to a make and take at my local scrapbook store. They were making several things but the thing I wanted to make was a wine bottle tag. They were cute and festive and so easy to make. I really enjoyed making it and even though the suggestion was that we make them as gifts to add to wine bottles, I didn't give it to anybody. I kept it for my own bad self!
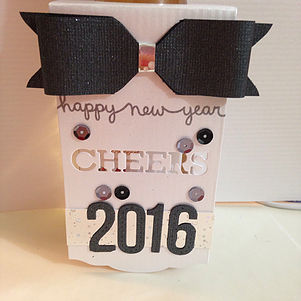
This year I wanted to make wine bottle tags and actually give them away. That's a very grown up thing for me to do, if I must say so myself.
I am also trying to make my tag with things that everyone might have at home. If you are a bit of a crafter, you probably have everything that I'm using.
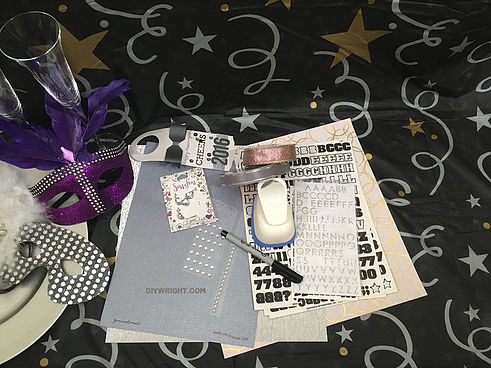
The first thing that you probably have at home is scrapbook paper. I picked a few sheets out of my Michael's Recollections Hot Buy paper pads. I also have a random sheet that I thought would work well. I always suggest that crafters pickup these paper pads when they are half price or cheaper. Once every 4 - 6 weeks, you'll be able to get a deal. Or use a coupon.
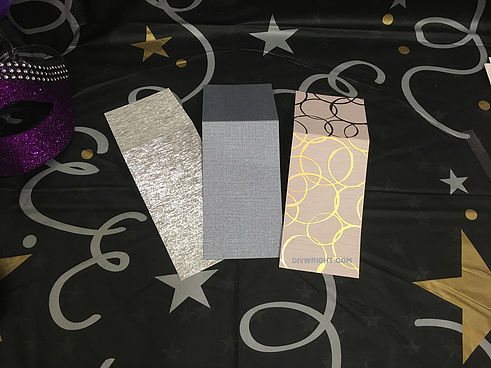
I used my "original" tag as my template. The original tag is 2 1/2" X 7" so I cut my papers to that same length. I also scored the top of the paper at 2" so it would fit around the bottle.
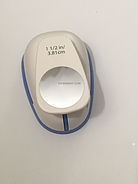
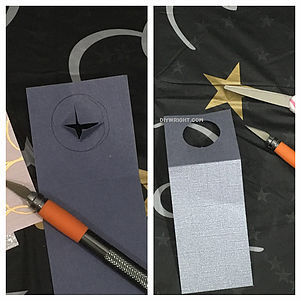
Now, I have a 1 1/2" hole punch that I picked up half price at Hobby Lobby. Not everyone has one so while I used the punch on two of the tags, I also traced a circle on one of my tags (in the 2 " space that we scored) and then used my Fiskars craft knife to cut an X into it. Then I cut a circle with my scissors. Either way works but if you buy get a hole punch, there are sooooo many DIYs that you can use them on.
After I created the hole for the bottle neck, I wanted to create fancy bottom edging for my tag. The original tag has a fancy edge that was die cut. I don't have any of those cute items (and you might not either) so I used what I had.
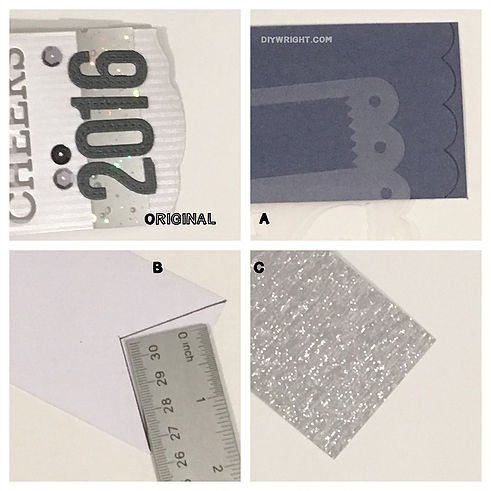
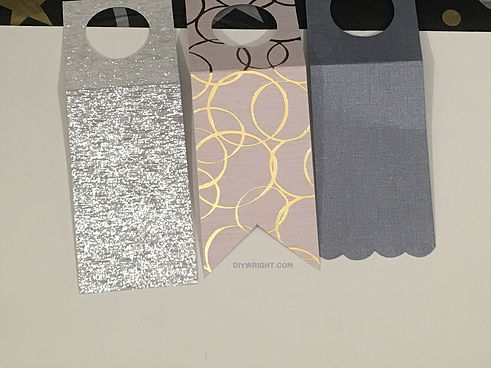
Section A is a scalloped edge that I got by tracing a template that I have. If you draw better than I do, you can draw a scalloped edge free hand. Section B is a flag bottom that I created by using a ruler. Flags are pretty easy but I can't get them even by eye so I make a dot in the center and place 2 lines down the sides and cut. Flag created. Section C is just plain. I didn't do anything to it -- I just left it as is.
I just used some stick on letters to write my sentiments. The paper is textured so stamping wasn't a great idea. The stickers seemed to work very well. I added a charm on one tag, a bow out of some very pretty rose colored ribbon on the middle tag and some champagne flute cutouts that I made on the third tag. If you don't have cutouts, you can always free hand some cute items and cut them out yourself.
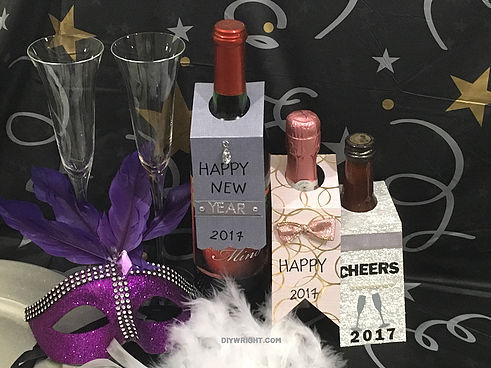
These wine bottle tags are so fun to make and when you walk into your New Year's Eve party or New Year's Day dinner, your creation will be the talk of the evening.
Go ahead and make a tag or two. Tag me on Instagram and show me what you created.
Oh, and if you are throwing a party and you want things to "POP" come back Thursday for a super cute idea!


Comments