Christmas and Holiday Cards
- Shan
- Dec 3, 2016
- 3 min read
Hey there!
Fa la la la la! It's time to create some Christmas cards! I could have spent days making cards. It's so easy and so fun.
Well yes, you could just purchase some holiday cards from any dollar store but isn't it fun to make cards instead? I know it's fun to receive handmade cards. For me, it's even more fun to create them. I normally make very intricate cards but let's just make some easy ones.
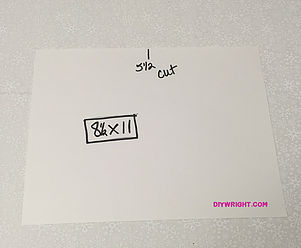
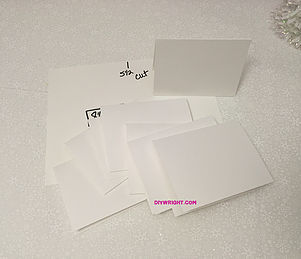
Before we jump into our cards, I always begin with 8 1/2" X 11 sheet of paper. My paper of choice for cards is Neenah 65lb white cardstock. So, I take my full sheet of paper and cut it in half at the 5 1/2" point. I then fold the card in half. That's my card base. Because I know that I have to make a lot of holiday cards, I cut several sheets in half and just keep card bases on hand.
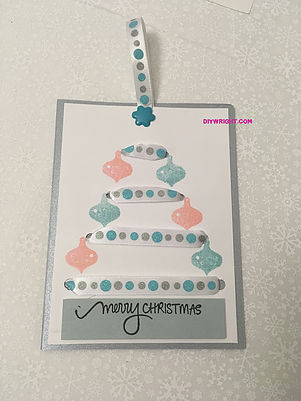
One of my favorite cards was this Christmas tree card. All I needed was my card base, a card matte (the piece of paper slightly smaller than the outside or inside of the card), ribbon, a hole puncher, a pencil and a ruler. It looks harder that it really is.
On the side of the card matte that won't show, draw a basic tree. Punch holes in the top and along the sides using your ruler to make sure everything is even. Thread your ribbon through the sides and ta da! You have a very pretty card front. Oh, full disclosure, there were a few holes that I couldn't reach with the hole punch. Instead I used my craft knife and very carefully cut the holes. That too, was pretty easy. Then I just used a ornament stamp and a Merry Christmas sentiment stamp.
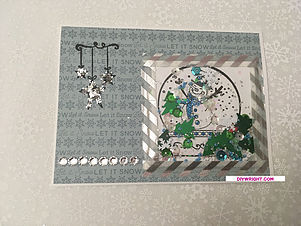
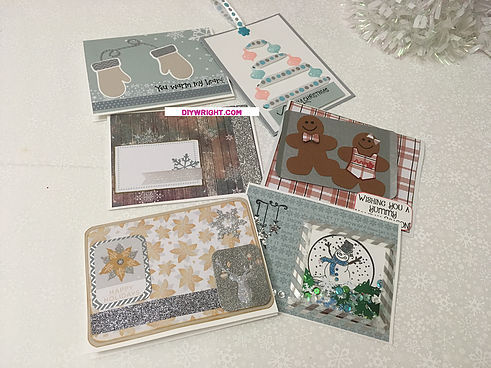
Yep, that's a shaker card. You know I love my shaker packets! For this card I just used paper from one of my 6 X 6 paper pads as my matte and I stamped a snowman in a snow globe and created a shaker packet with it. I added rhinestones and glitter stars and a little bit of washi tape.
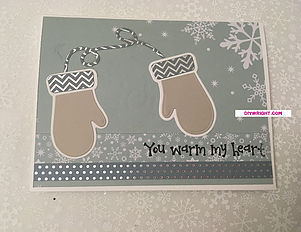
I picked up a die cut kit that had mittens in them from Stamps of Life! Aren't they so cute? I decided that they needed to be slapped on a card. My kit also came with sentiments and "You warm my heart" just goes with mittens.
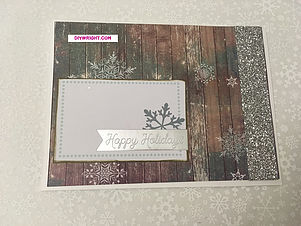
I like to show folks that you can make a very simple card using cut outs that come in your paper packs. I simply pulled the "Happy Holidays" cut out and slapped it on some paper! Then, because I do too much, I added some Dollar Tree ribbon on the edge. Minimal is the name of the game for this card.
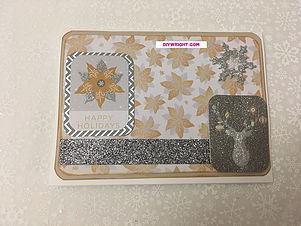
I did a second minimal card with 2 paper mattes instead of one. You can achieve that by just cutting each paper piece 1/8th or 1/4th of an inch smaller than the last piece. I added a strip of glitter washi tape. Then I used two cut outs. I popped up one of the cut outs with foam tape and I matted the other cutout with leftover silver paper and then a glittery snowflake sticker.
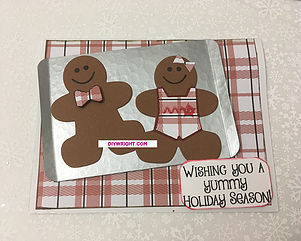
And my favorite card is my gingerbread people card! I ordered these stamps and die cuts a month and a half ago from the Stamps of Life and I've been so ready to play. You cannot tell me that my little gingerbread people aren't the best! I gave my gingerbread lady a hair bow and a belt. I gave my gingerbread man a bow tie (because bow ties are cool) and I put them both on a silver tray! Yes, a silver tray! I researched a little on how I was going to make the tray and once I saw a video on it, I jumped with joy at the ease. From now on everyone is getting a silver tray for no reason at all!
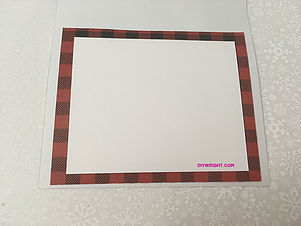
I added an inside matte (similar to this style) in some of my cards. Some of the cards I left blank for personal sentiments. This is the part of the card that you can personalize for each recipient. Trust me, they will ooh and ahh over your efforts.
If you've never made holiday cards before, I really encourage you to do so. You can use good ole construction paper and stickers. You can do anything that makes you feel good and the receiver is going to feel the love. Try it! It's easier than you think!!


Comments